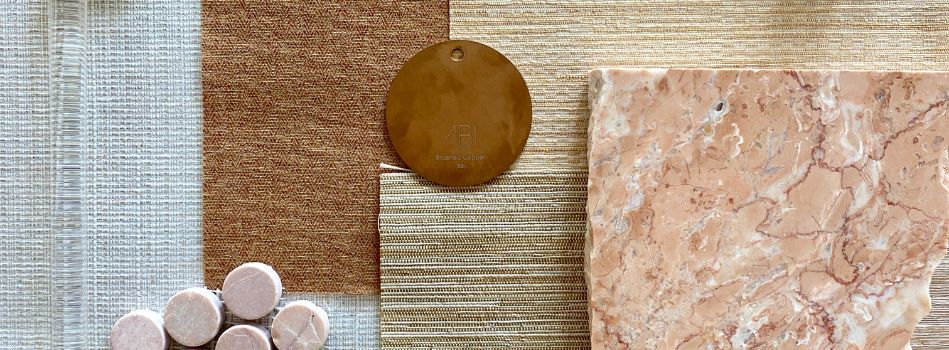
Textile Wall Covering

Installation Guide
Instructions for the installation of our Textile Wall Covering collection.
First, and most importantly, if at any time during the installation a discrepancy is discovered, stop! Contact your supplier before proceeding.
Wall Preparation
Acceptable hanging surfaces must be clean, smooth, thoroughly dry and structurally intact. All loose paint and other wall coverings must be removed. Freshly plastered walls must be dry before application.
Sealed walls should be rough sandpapered; glossy surfaces should be sanded to dull the surface and the dust removed with a dry cloth. It is important to prime walls with a primer that provides a solid colour surface. This will avoid the possibility of “strike through” of tape and spackle lines or other variances in the colour of the wall.
Use an acrylic or latex wall covering primer for normal gypsum or plaster wall surfaces. On highly alkaline surfaces such as asbestos board or cement block, use an alkyd enamel under body or similar wallcovering primer for alkaline surfaces.
If there are any questions concerning the surface to be covered a test installation is the recommended course of action.
One strip should be hung to determine if blistering or loss of adhesion will appear over a 72 hour period. If this condition exists, prime as above to remove moisture penetrating the paint surface.
Lining the walls is usually not needed. This should be determined by the installer. If a paper or canvas liner is thought necessary, the same pre-mixed vinyl adhesive must be used as on the actual wallcovering. This is to prevent mildew. Use only a lead pencil for marking walls and back of wall covering.
Adhesive
Use a commercial grade, heavy duty pre-mixed adhesive, full strength, suitable for acrylic backed fabric wall coverings. Do not introduce additional additives. A temperature above 13˚C should be maintained in both areas of installation and storage.
Application
Before cutting, examine goods to make sure the pattern and colour are as ordered. Check all roll tickets to determine whether more than one run or lot number of the same pattern is to be installed.
Fabrics should be pre-trimmed on the table with a straight edge or over-lapped and double cut, using a clean and sharp knife blade. Blades should be changed frequently to maintain the cleanest possible edge.
Make sure that the material is lying flat on a smooth surface and that the straight edge is completely parallel to the edge to be cut. After you have determined your cut lengths and have made these cuts, it is suggested that in order to maintain consistency, you routinely reroll each strip from the bottom up with a broom handle and lay in a convenient location.
Once again, do not pile your rolled panels on top of one another. Make sure to hang each of these panels in the same sequence that they came off of the bolt. Each panel should be hung plum (straight up and down).
- Apply a coat of adhesive to the wall allowing it to dry completely.
- Apply a second coat of undiluted adhesive to the wall, allowing it to dry to its maximum tackability without it being overly dry.
- Apply the cut panels from top to bottom, without using the seam rollers, laying the leading edge against your penciled plum line. Press the panel to gently move any bubbles or wrinkles that may appear in the material as a result of handling.
- Take care not to press too harshly against this surface. The smoothing should be done from the top of the panel down. Before applying the next panel, trim the top and bottom of the panel just adhered to the wall surface. The horizontal weave should be adjusted to appear as horizontal as possible.
- NOTE: Be careful not to paste too far ahead of your work so as to avoid premature drying of the adhesive.
- The second panel should be applied to the wall by starting out with butting, as tightly as possible, the leading edge to the panel up on the wall, being particularly careful not to overlap or to leave any gaps in the seams.
- The material should then be worked away from that seam, once again pressing gently so as to remove any air pockets or wrinkles on this panel against the wall. Once this panel is in place, trim the top and bottom as in the first panel and then proceed on with your remaining panels.
CAUTION: Material must be examined prior to installation. Please check to see that all rolls match one to the other. Before cutting, be sure the pattern and colour are satisfactory. Installer assumes all responsibility for goods after cutting. No claims will be allowed for labour. No claims will be allowed for hanging the wrong colour or pattern. No adjustments will be allowed after the material is cut. The customer is responsible for all labour costs.
For best results, it is recommended that a qualified textile wallcovering installer be employed.