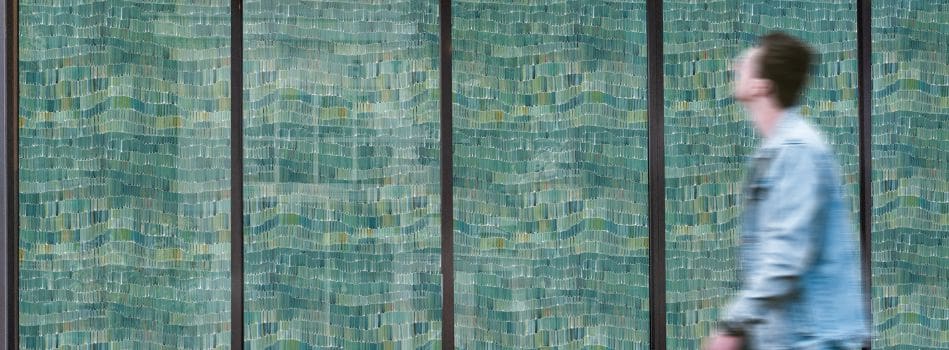
Window Film Installation

Installation Guide
Instructions for the installation of our decorative window film. Frosted & Ultra Clear.
IMPORTANT – If at any time before or during installation you do not understand these instructions, or if a discrepancy is discovered in pattern, colour, or quality, STOP. Contact Materialised Pty Ltd before proceeding. Any deviation from these instructions will void the manufacturer’s warranty. Carefully examine all material to ensure correct pattern, colour, and quantity.
Surface Preparation
Begin by thoroughly cleaning the window surface with a mild detergent and water solution to ensure it is free from any dirt, dust, or debris.
Application
- Measure the dimensions of the window and cut the digitally printed film to size. Note that the printed window film will include a 1cm bleed, unless specified otherwise.
- Spray the entire window surface generously with water.
- Peel the backing off the adhesive side of the film, exposing the sticky surface.
- Carefully position the film onto the wet window surface, making sure it aligns properly with the edges and corners.
- Use a squeegee or a flat, smooth tool to gently press out any air bubbles and excess water from underneath the film. Begin from the centre and work your way outwards towards the edges.
- Trim any excess film, including the 1cm bleed, using a sharp utility knife or scissors for a clean and precise finish.
- Once the film is in place, use a clean, lint-free cloth to remove any remaining moisture and ensure good adhesion.
- Allow the film to dry completely before handling or cleaning the window further.
Note: Avoid installing the film in direct sunlight or extreme temperatures for optimal results. If you encounter any issues during installation, refer to our online resources or contact our customer support for assistance.
THE MANUFACTURER WILL NOT BE RESPONSIBLE FOR CLAIMS BEYOND THREE (3) STRIPS.
Date: January 2024.